🚀 Confidential AI coding assistants are here! Get started now.
With Privatemode and PrivateGPT, you can run large AI models confidentially in the cloud – with the same interface used for your local LLMs.


Many PrivateGPT users value local control and zero‑leakage workflows but are limited by the capabilities of local LLMs. Privatemode removes the trade‑off between capability and confidentiality by providing an OpenAI‑compatible, attested service that never exposes your data to cloud or service providers.
You get state‑of‑the‑art models with full control over your data, while PrivateGPT's elegant interface makes Privatemode easier to use than ever.

Integrating Privatemode into PrivateGPT brings cloud-AI capabilities to your AI interface while keeping your data confidential through end-to-end encryption and confidential computing. Plus, Privatemode is designed to never learn from your data.

With Privatemode, you can choose from state-of-the-art LLMs to power your workflows.

You can start using Privatemode in minutes. The setup is straightforward and fully compatible with PrivateGPT.
If you don’t have a Privatemode API key yet, you can generate one for free here.
The proxy verifies the integrity of the Privatemode service using confindential computing-based remote attestation. The proxy also encrypts all data before sending and decrypts data it receives.
To install PrivateGPT, clone the official GitHub repository and change the project directory to it.
macOS:
To install pyenv on macOS, use Homebrew to download and set up the Python version manager.
Windows:
To install pyenv-win on Windows, run this PowerShell command to automatically install and configure pyenv for managing multiple Python versions.
Install Python 3.11 using a version manager — earlier versions are not supported.
macOS/Linux
On macOS/Linux, set it up with pyenv.
Windows
On Windows, install and set up Python 3.11 using pyenv-win:
Set up Poetry to manage dependencies. You can get the official installer script from install.python-poetry.org, which is maintained in a separate repository. The script can be run directly from the web or downloaded and executed locally (for example, in a CI setup).
Linux, macOS, Windows (WSL)
Windows (Powershell)
To run different scripts, you need to install make. Follow the installation instructions for your operating system:
macOS
(Using Homebrew):
Windows
(Using Chocolatey):
Set up the environment, language model, and API connection for PrivateGPT.
The command below creates a sample configuration file for gpt-oss-120b.
To configure other models, follow the same process, consult the official documentation, and verify compatibility with Privatemode AI.
Add the necessary modules for PrivateGPT — including the UI, OpenAI-like LLMs, OpenAI embeddings, and Qdrant vector store integration.
Configure the environment variables and launch PrivateGPT — enabling it to run with your API key and the privatemode profile.
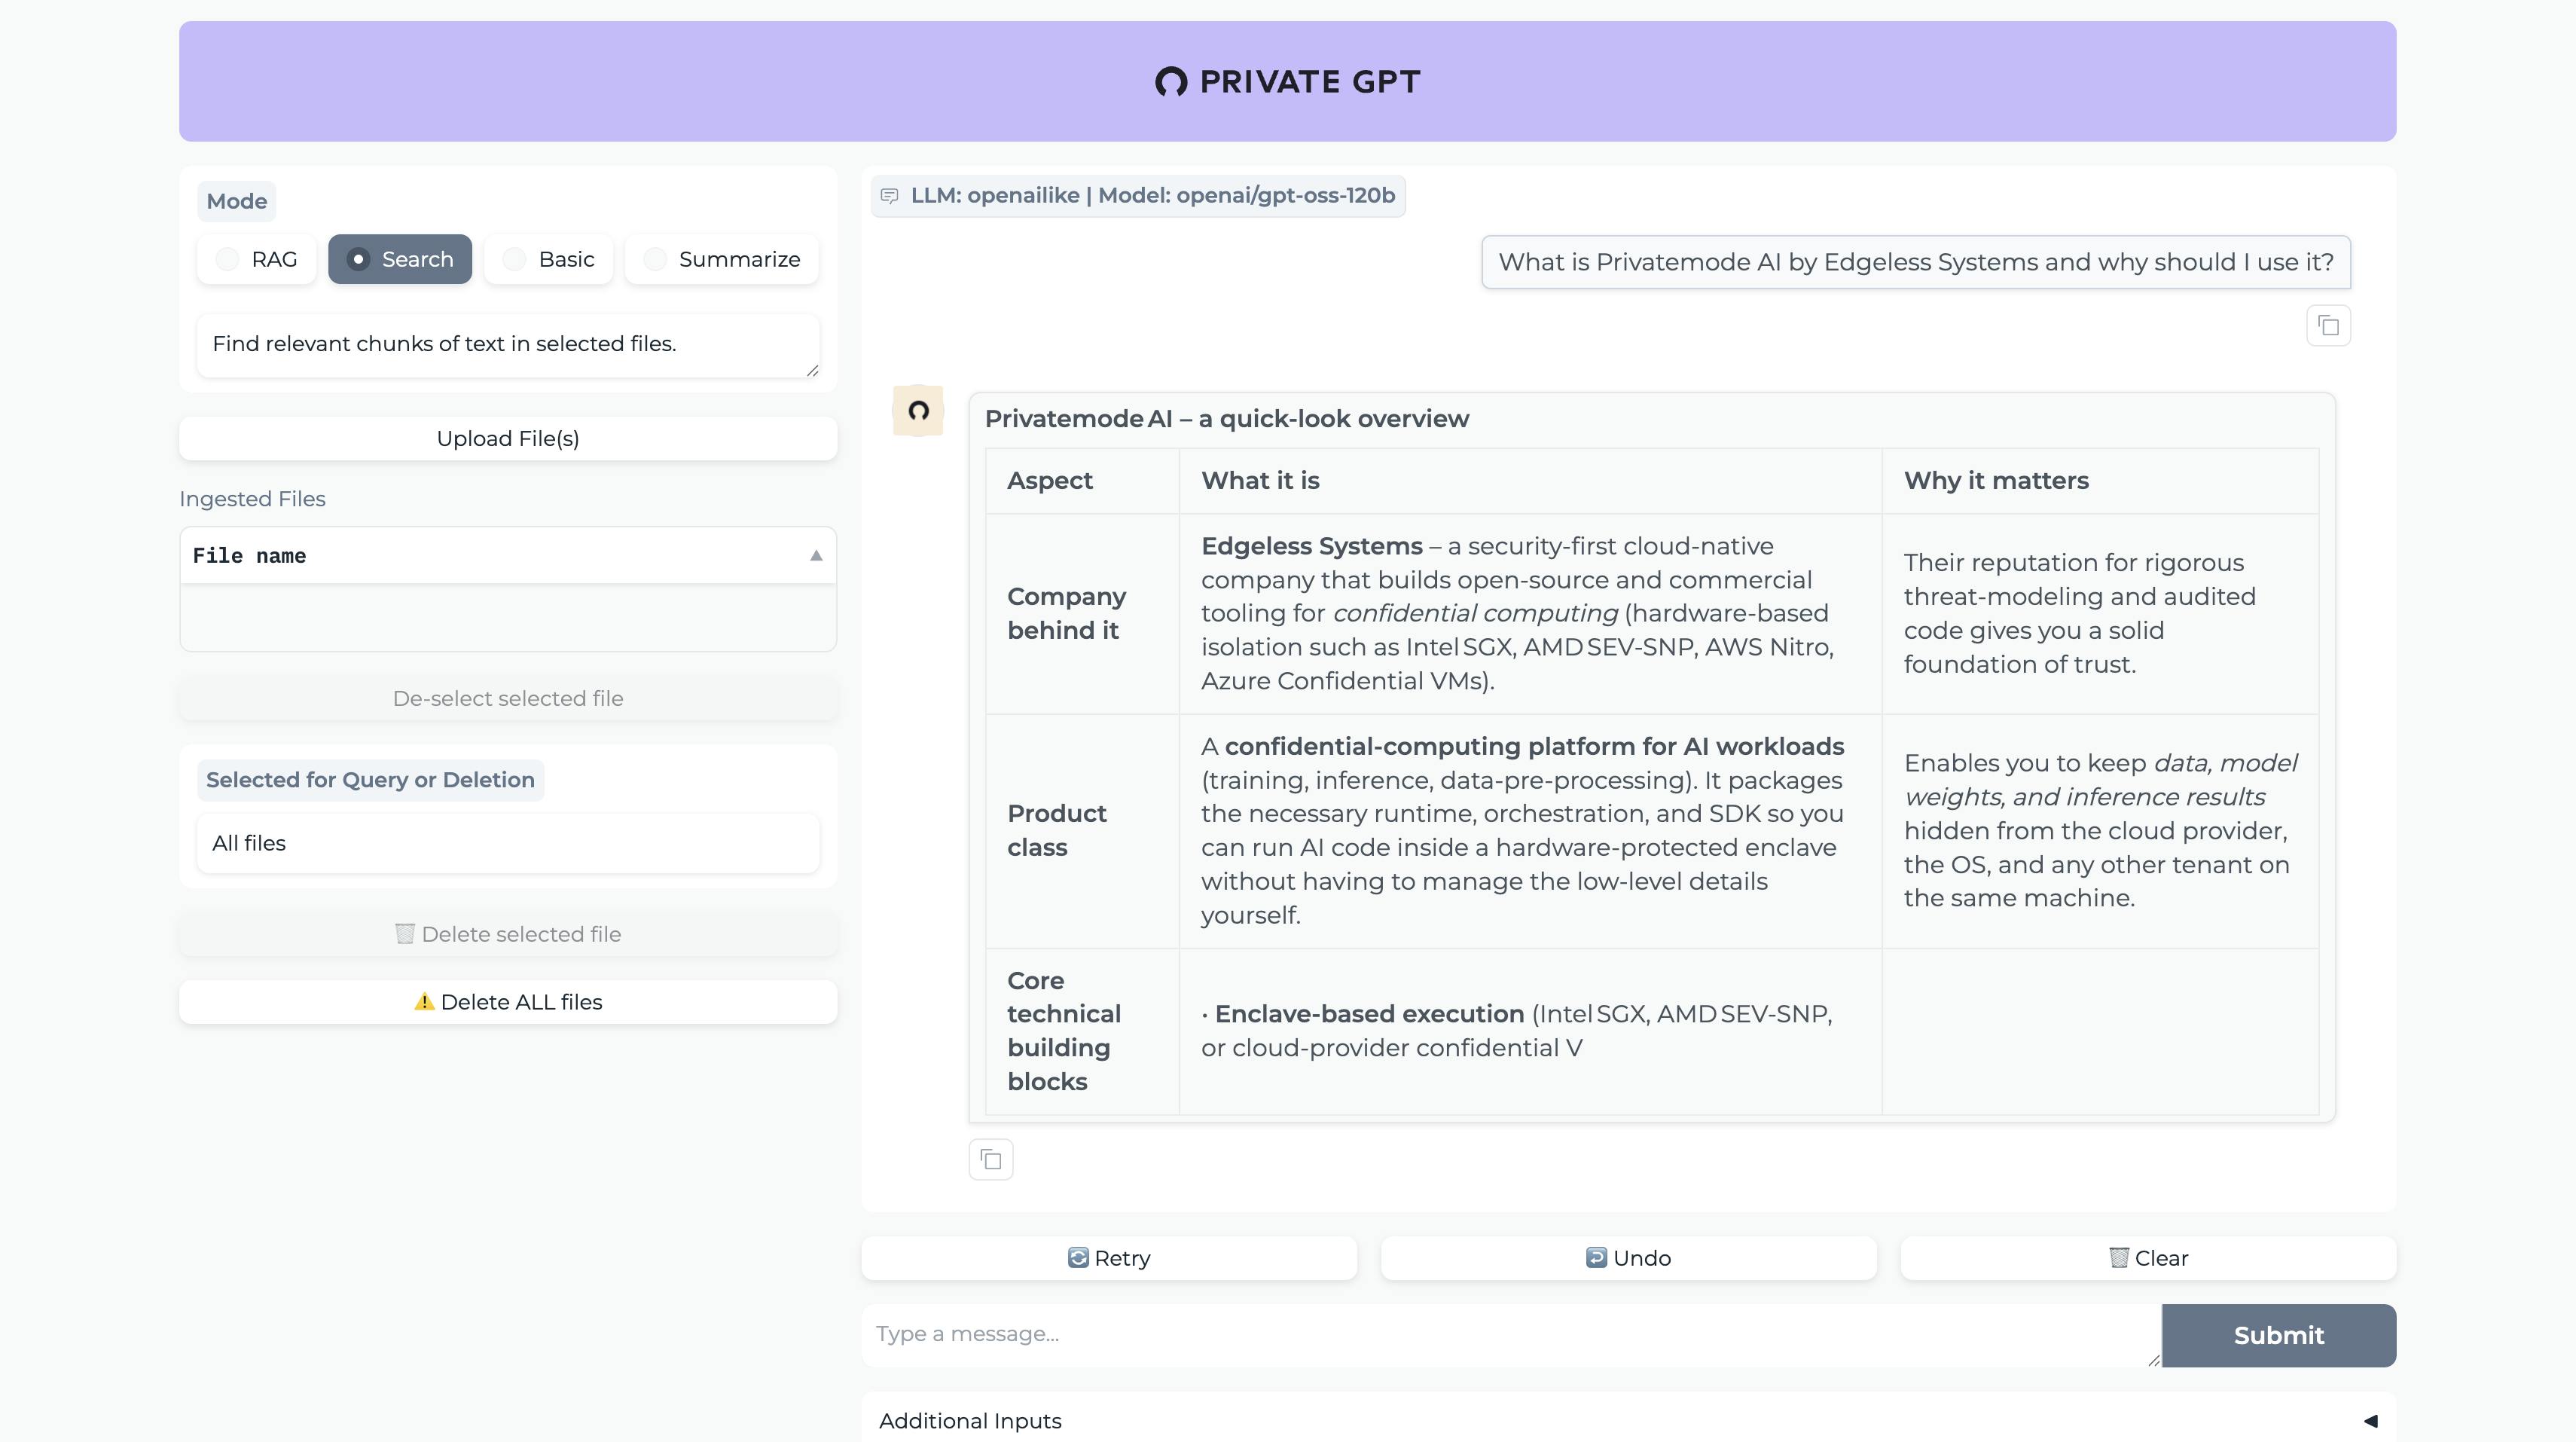
You've successfully integrated Confidential AI into PrivateGPT. Now open this link in your browser and start your first confidential chat using PrivateGPT and Privatemode AI.
© 2026 Edgeless Systems GmbH